Items
Items are the things you put in your repo. In the world of folders, the only item is the file. In LOC, there are many more types. Have an important news article you want to keep? Create a hyperlink item, add the URL to the article, maybe give it a description to help you remember why you're adding it to your repo. Want to record some simple meeting minutes, but don't want to create a Word doc? Use a LOC Note instead.
All items in LOC have options to attach additional information that can help preserve knowledge and context. In addition to naming and storing a piece of data or file, you can:
- Add a description to your item
- Add metadata to your item. This can be dates, times, people, other files
- Add tags to your item to help with searching and organizing
- Add comments to your item
Together, these additional attributes work to keep you from asking yourself quesions like: "What is this file?" "Who owns this?" "When was it received?".
Item types
| Item | Description | Download Format |
|---|---|---|
| Single Value | Stores a single piece of information. Can be text, a date, a URL, a number, a currency, a time, a datetime, or a boolean. | All single values are stored in a single file (Excel, CSV, or JSON). |
| Note | A simple document. Good for readme files, meeting notes, and other situations where light documentation is needed. | Text and Excel |
| Table | Simple table for storing raw data. You can copy data from Excel and paste into into LOC and vice-versa very easily. LOC tables have superior change tracking across versions | Excel, CSV, or JSON. |
| File | Any non-executable file-type | Original file format. |
| Linked Item | A link to another item in another repo. If you use the same item in multiple projects, use links instead of maintaining multiple copies of the same thing. | Same format as the source item. |
| Folder | LOC folders, like other LOC items can have descriptions, comments, metadata, and tags | Folder |
Creating an item
Select the New Item button in the top right of the screen.
Tip
Creating several items? Use the hot keys to save some clicks.
For files, you can simply drag your files and folders into the repo panel.
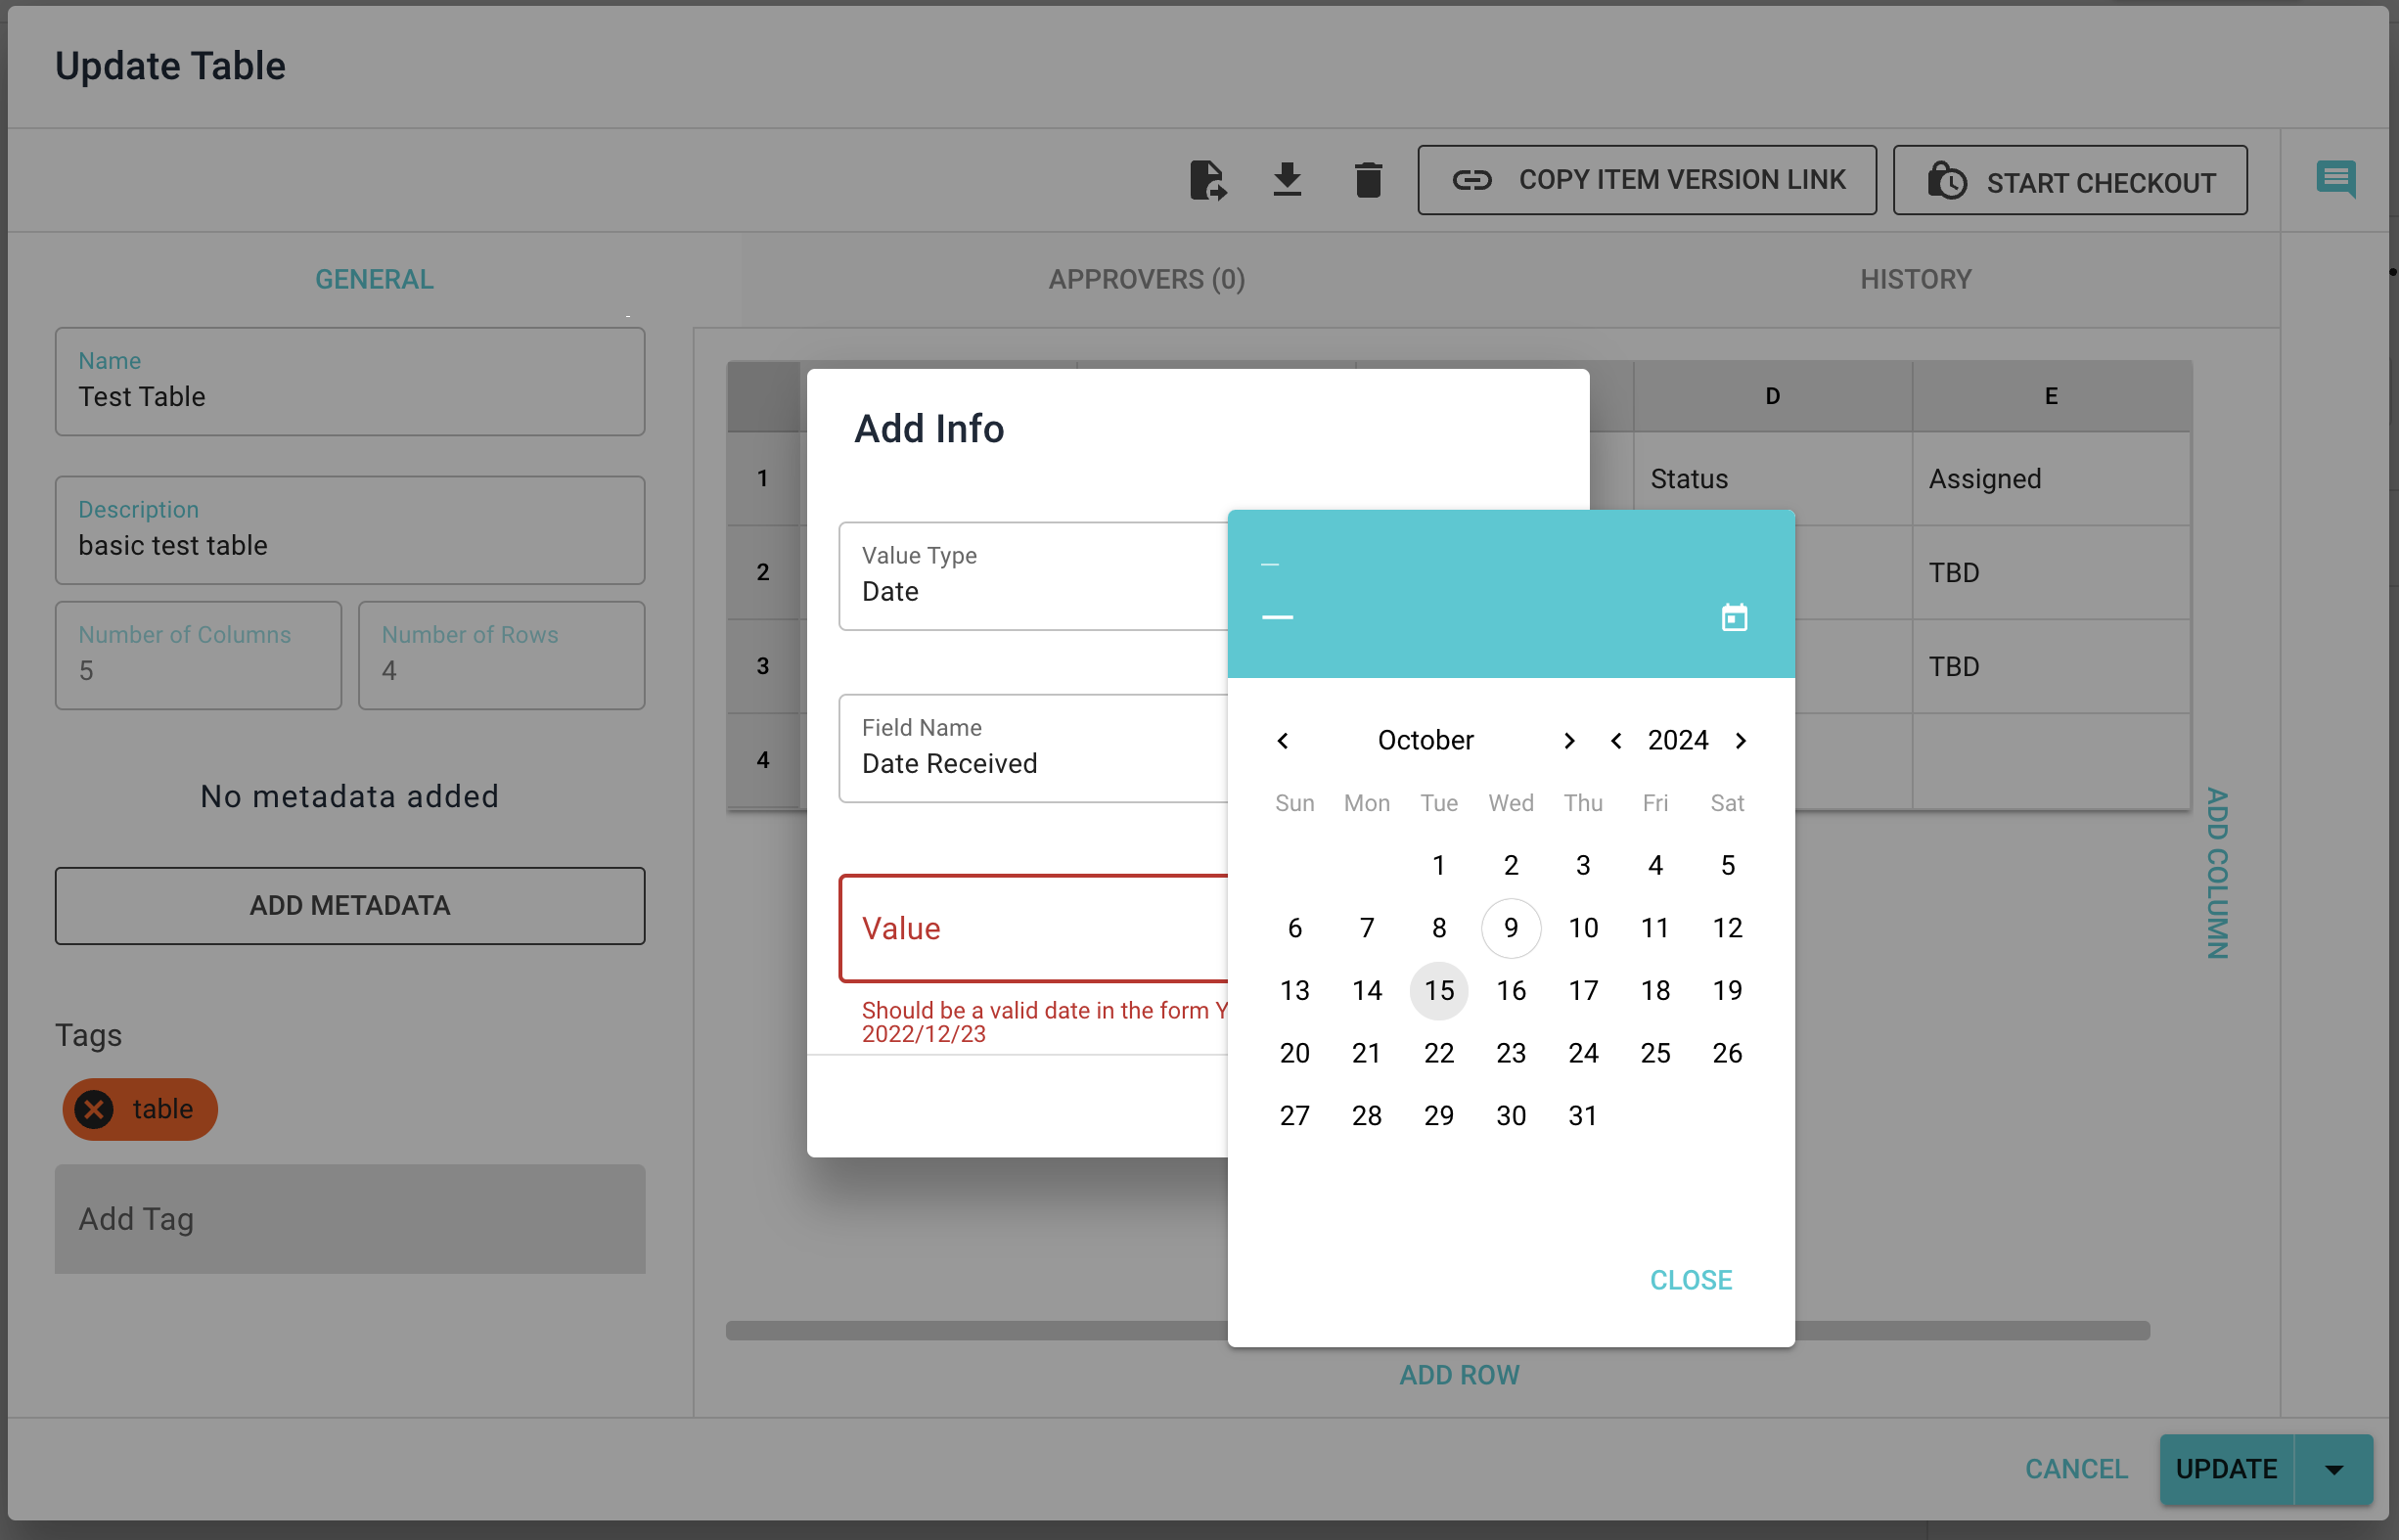
Metadata
In addition to a description, you can add metadata to any item or folder. Metadata can be file attachements, but it can also be bits of raw data like important names and dates. This is a great way to keep track of important pieces of information related to the item.
- Who owns the document?
- When was the document received?
- What is the source url?
Tags
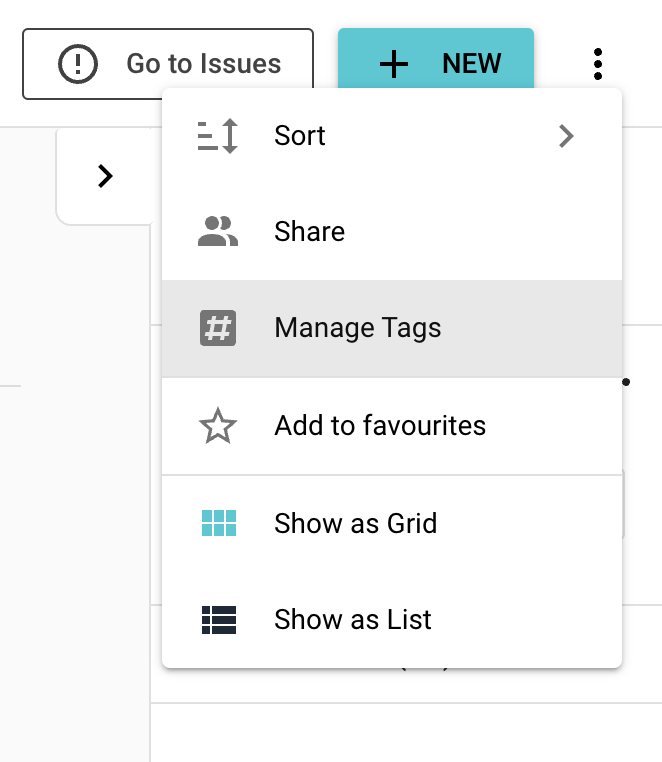
Add tags to your items to help keep your repo organized. You can then filter your items by various combinations of tags.
You can manage your repo's tags by clicking on the vertical ellipsis in the top-right and selecting 'Manage Tags'
Comments
Add comments to your items to keep track of the narrative. Use the @ to callout to another member of the repo. Use the # to create a link to another item (item names are prefixed with #V-) or a repo version (repo version names are prefixed with #C-). Just start typing the name of the member, item or version and a list of selectable options will appear.
Note
When using # to link to an item, the link will be for a specific version of the item.
Approvers
Adding approvers to items of greater importance or sensitivity is a great way to add additional safeguards to your project. You can add approvers by clicking on an item and going to the 'Approver' tab. Here you can view and manage the approvers related to the item. An item can have multiple approvers.
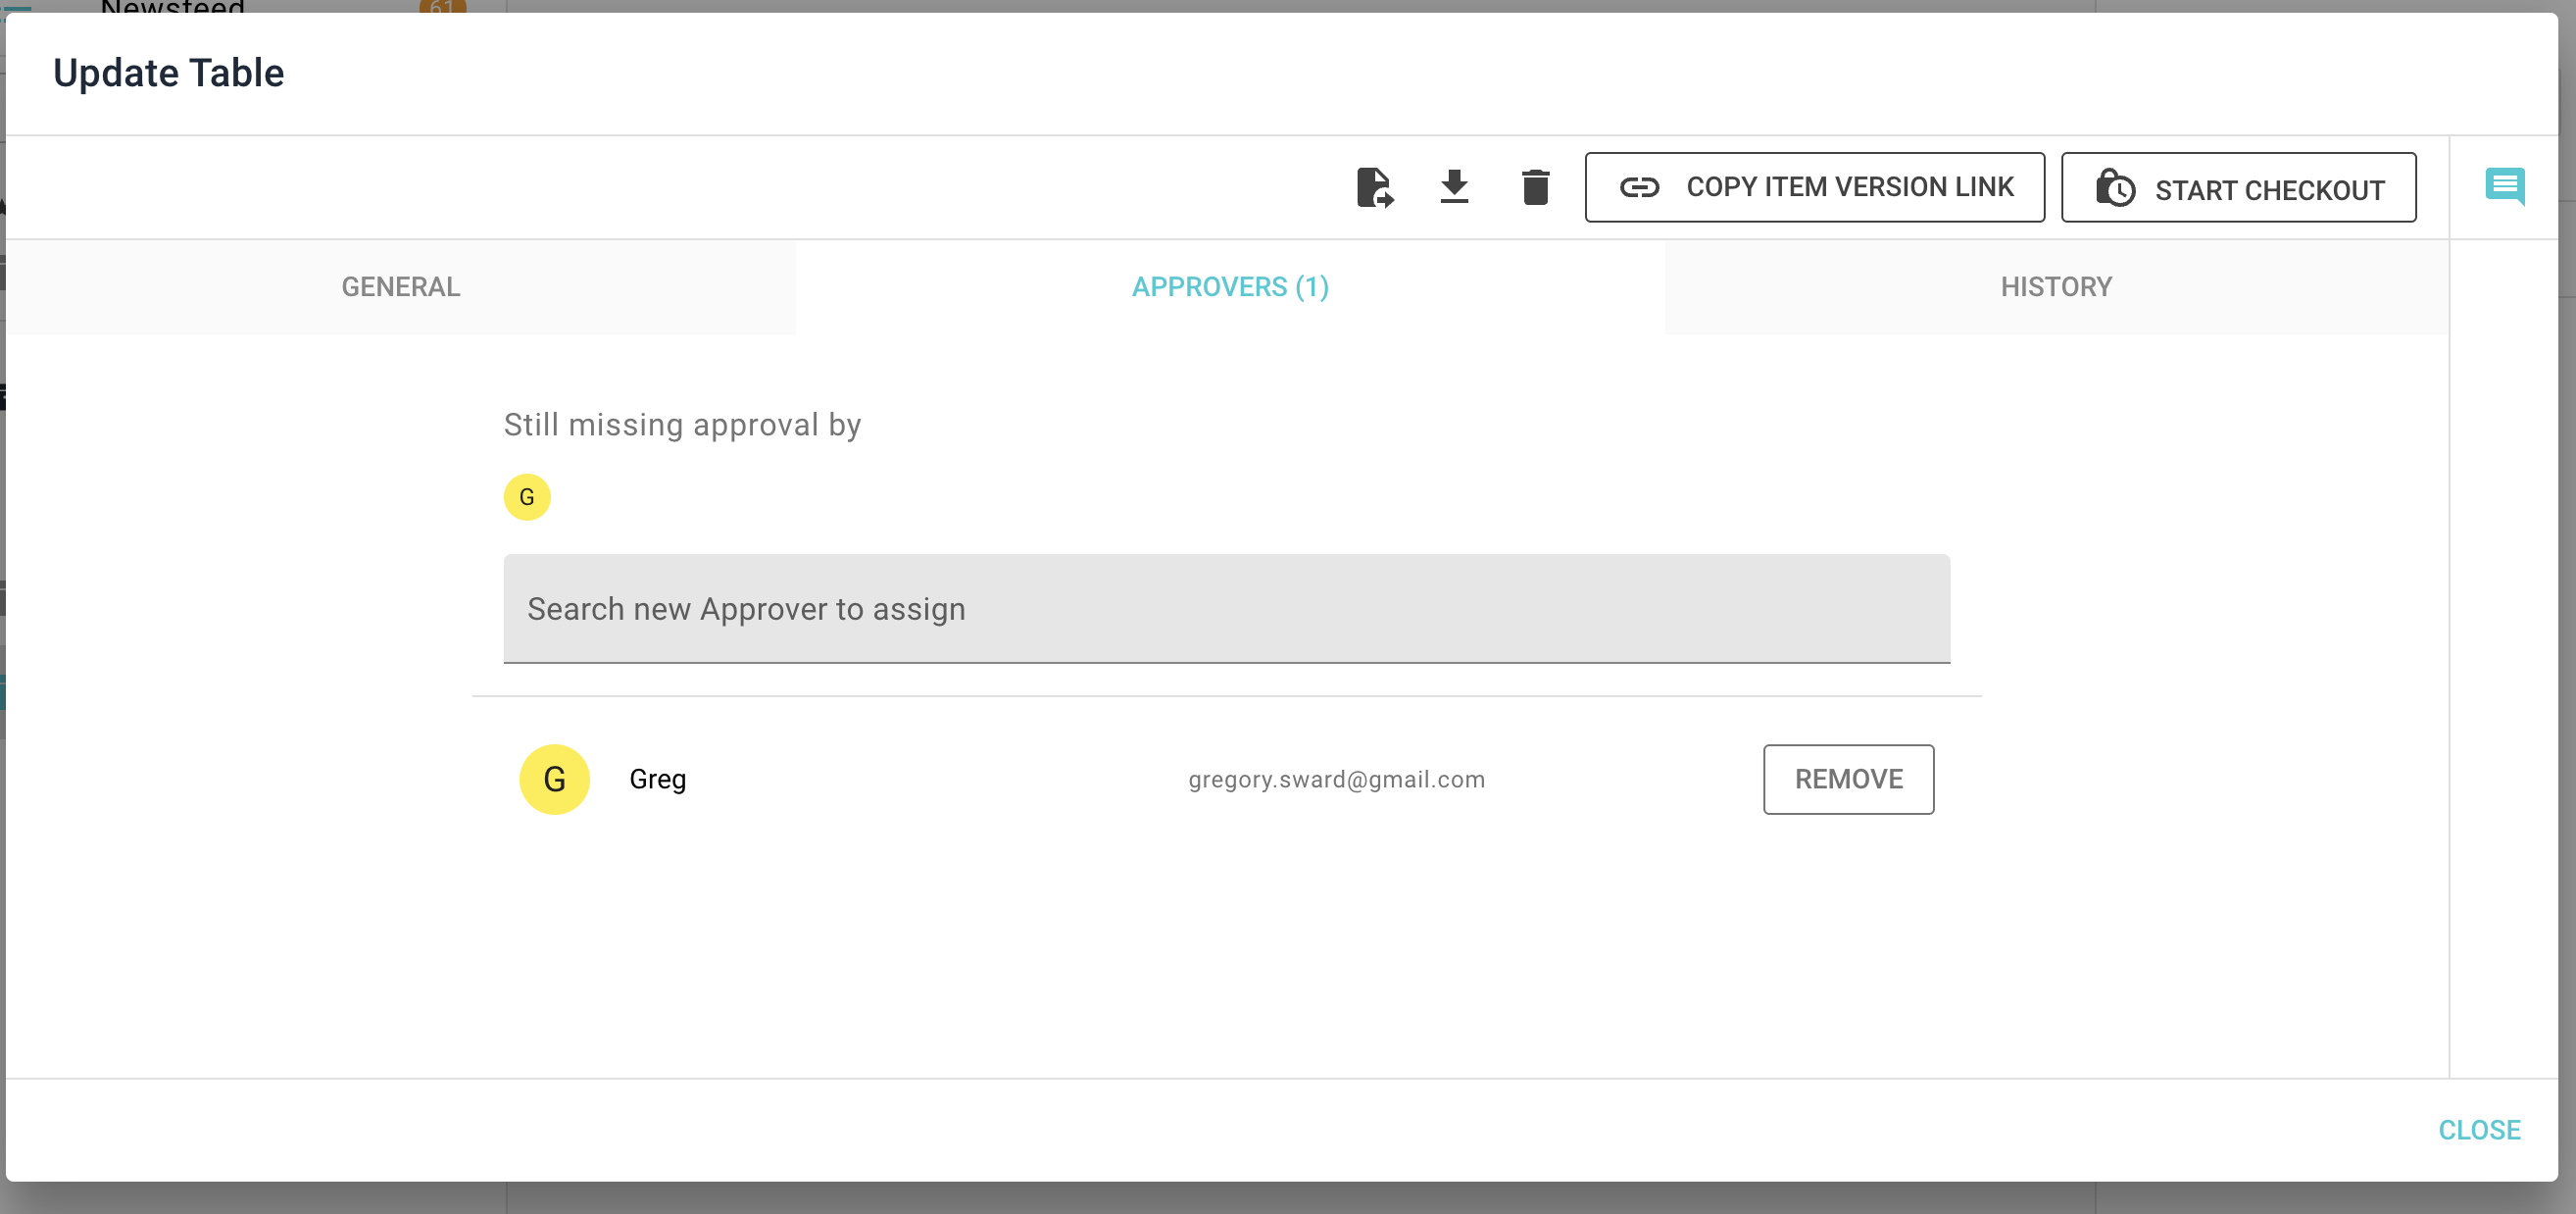
Approvers are visible on an item's icon. Updates to the item cannot be saved unless all approvers have consented by 'checking the box'.
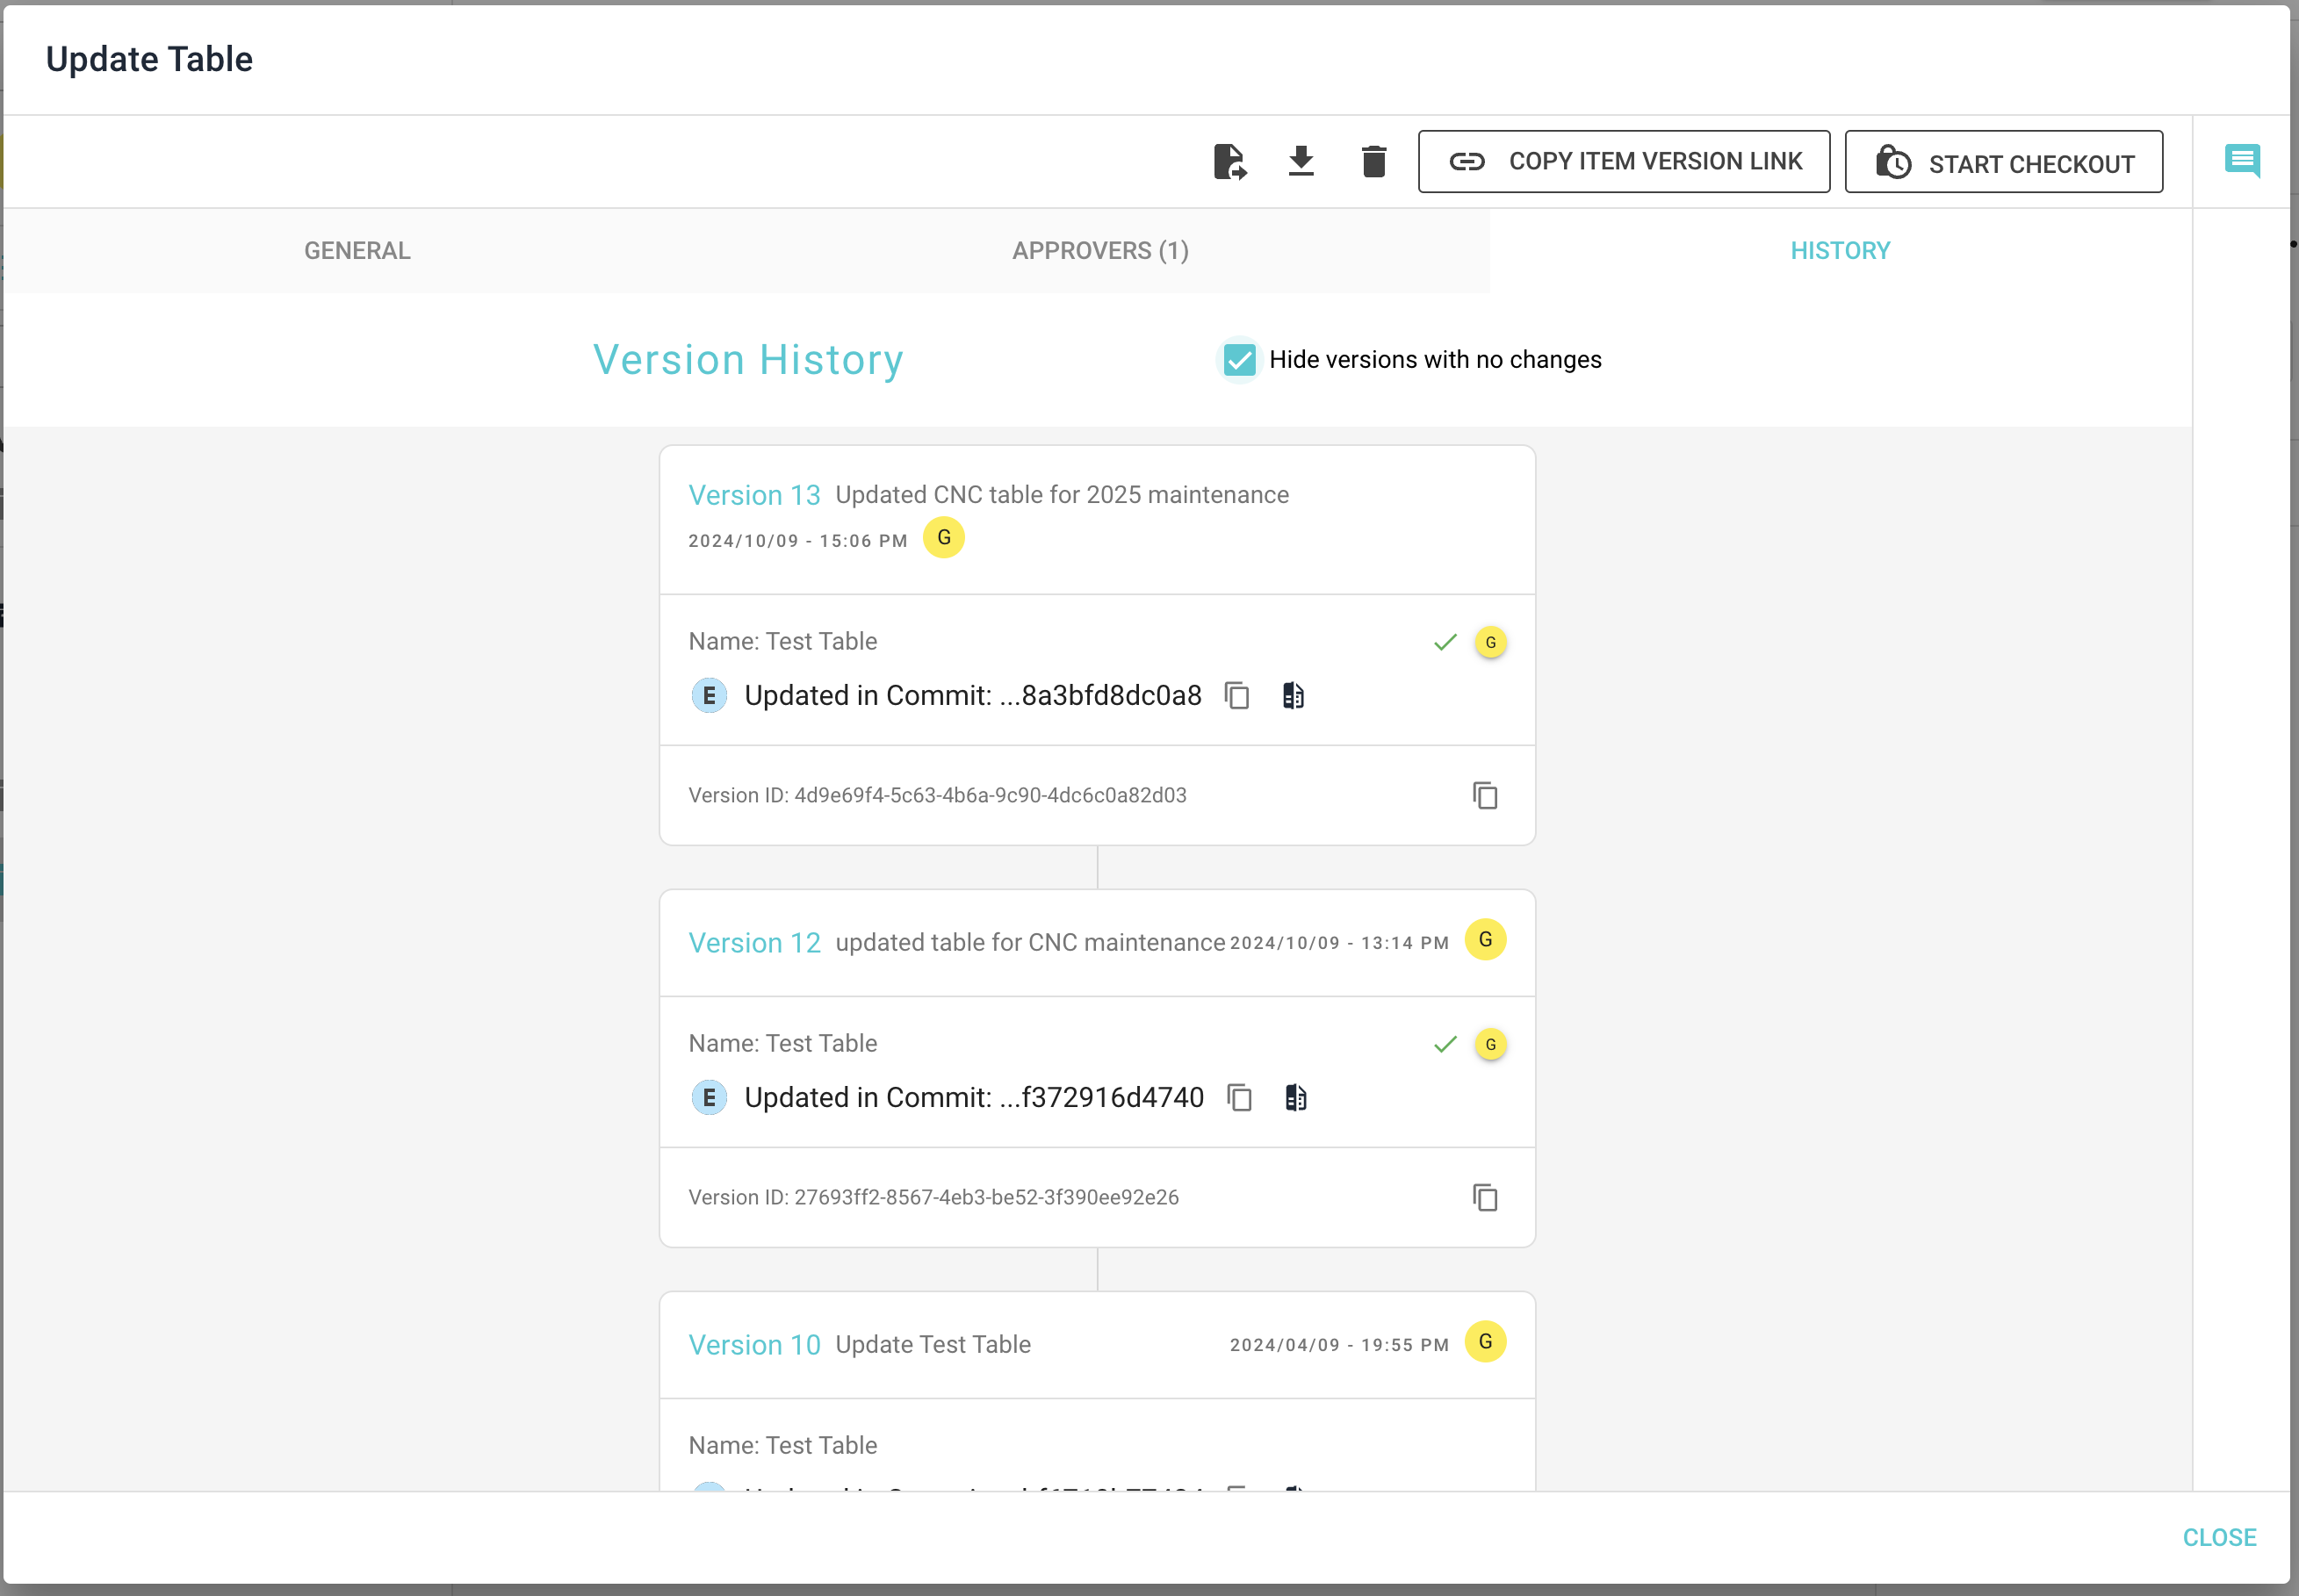
History
You can view an item's history by clicking on the item and going to the 'History' tab. The history tab allows you to explore what changes were made in the different versions of the repo. By default, versions of the repo that did not contain any changes to the item are hidden, but you can unhide these by unchecking the 'Hide versions with no changes' box at the top of the tab.
Linked Items
Linked items are a great way to avoid unnecessary copies of the same information floating across your projects. When you create a linked item, you are copying an item from another repo. As the source item is updated, the changes will appear in your repo automatically - however, it is up to you as to whether you wish to accept the changes by committing a new version, or you can break the link. After breaking the link, the item will no longer be able to be updated. The break action, like other updates, needs to be committed to a version.
Here's an example of setting up a linked item and receiving an update:

Here's an example of breaking the link:
Updating and staging
Item opens in read-only mode. To update an item, click on the edit button. After making changes to the item, the description, metadata, or tags, click 'Update' to save the changes.
Warning
Updating an item saves the changes, but it doesn't create a new version. More on versions here.
Tip
To save a few clicks, you can update an existing file by dragging a new file over the old file.
All updates to your repo items (creating, editing, deleting) that have not yet been committed to a new version of the repo are put in a special version called Current Draft. The Current Draft of a repo serves as a staging area where you can make changes across one or several items and then commit those changes as a new version of your project.
When you select a repo, you automatically go to the staging version. Items that have changed are shown at the top of the repo.
Discarding Changes
You can discard your changes by clicking on 'Create New Version', finding the item you wish to revert in the list of 'Draft Changes' and clicking on the 'Discard' icon. Discarding changes will revert the item back to its previous version.
Updating and versioning in single action
If you want to both update your item and commit a new version of the repo, expand the 'Update' button a select 'Update and Commit'.
Warning
You can only update-and-version in a single action when updating an existing item.
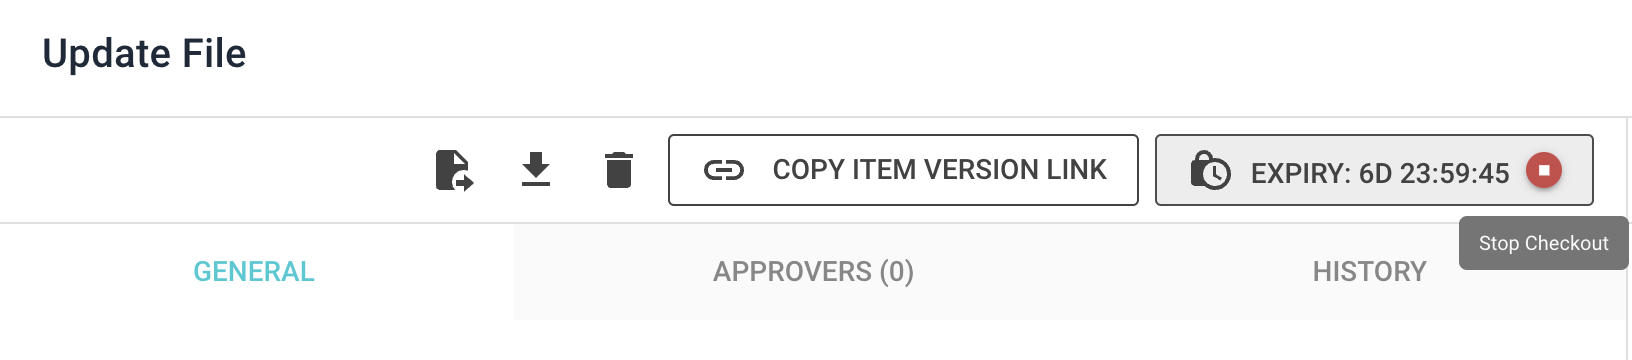
Checking out an item
In order to prevent users from overwriting each other's changes, it's recommended that you check-out an item before making changes to it. Other users will not be able to edit an item while it's checked out. Additionally users will be able to see that you are working on that item.
To checkout an item, select the item and click 'Start Checkout'. Select the duration of checkout. The checkout ends when:
- The checkout duration ends.
- The person who performed the checkout manually stops the checkout. Typically only the person who initiated the checkout can cancel the checkout. The exception to this is repo admins who can also stop any checkouts in the repo.
- The person who performed the checkout updates the item. This is considered checking an item back in.
Tip
Remember: you can update files simply by dragging the new file on top of the existing file item icon.
Deleting an item
To delete an item from a repo, right-click on the item and click 'Delete'.

Warning
The item will be marked as 'deleted' in the Current Draft of your repo. You need to create a new version of the repo to remove the item from the repo window.
Warning
Deleting an item does not remove the item from historic versions of the repo.
Warning
If you delete an item that has never been committed to a version, the item will be permanently deleted.
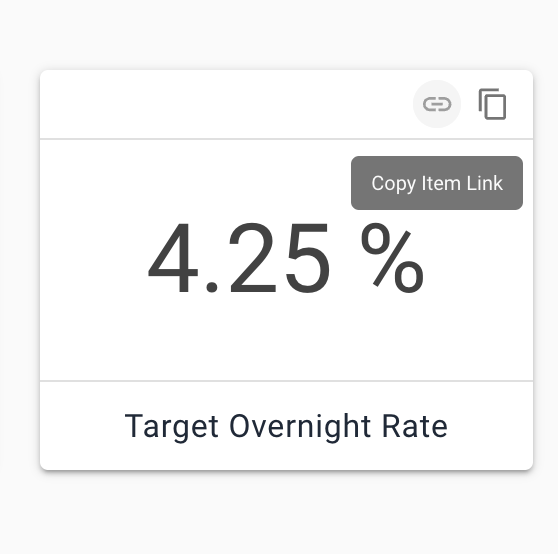
Sharing an item
You can copy a link to an item and share it via email or chat.